Budget
Building a studio means equipment such as a computer, interface, software, microphones,
monitors, musical instruments, you’ll also need to invest in acoustic treatment, cables, furniture, lighting, building materials, and more. Don’t buy as you go you’ll end up with a $2,000 microphone and a $250 preamp, or an awful-sounding room because you couldn’t afford proper acoustic treatment. Create a well-thought-out plan.
Decide on Focus
Producing electronic music? Recording voice-overs? Maybe tracking 6-piece bands? Electronic musicians can get by in a modestly treated room with little isolation and a decent monitoring chain. Voice-over artists need to invest in a quality mic and preamp and need enough isolation to keep outside noise at bay. Full band sessions require an array of mics, preamps, and processors; maximum acoustic treatment; and a large, soundproof tracking room. Think about needs in the future or else your current room and gear becomes inadequate.
Define Your Needs
Determine gear. How many tracks will you be recording at once? If you’re just recording
yourself, a 2-channel interface will suffice. If you’re tracking bands, you’ll need more inputs. Get microphones to accommodate everyone. Are you working in the box, with outboard gear, or a hybrid of the two? Whatever you decide, keep your gear lust in check. Don’t buy cheap microphones to afford a high-dollar summing mixer and expensive AD/DA converters, you’d be better off with good mics and preamps.
Determine Your Space Requirements
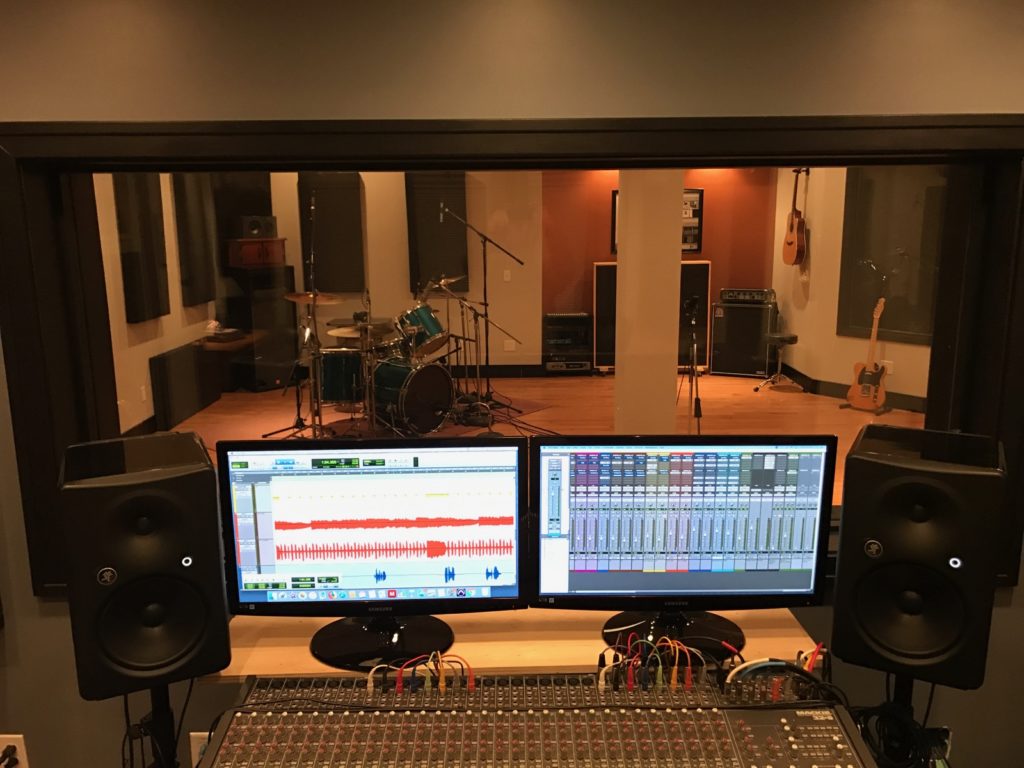
If you’re a mix engineer, you can get by with a modest amount of space, as long as you can achieve accurate monitoring. Recording vocals and acoustic instruments requires a medium- sized room with an iso-booth. Tracking full bands requires a great deal of space in order to accommodate all the musicians and their instruments with an appropriate amount of sonic isolation.
Location
Choose a room wisely. Avoid spaces that are close to traffic, airports, trains, etc. You’ll also
want to be cognizant of family members, neighbors. Near a baby’s room? Or adjoining wall of a duplex? Bad idea. Of course, there are ways to get around these issues instead just choose the right room to begin with.
Good Acoustics
Acoustic treatment can make just about any room sound decent and nothing beats the sound of a room with great natural acoustics. If you’ve got the luxury of choosing between a spacious room with asymmetrical walls and a high ceiling or a small, boxy room, take the larger, better-sounding room. For mixing and recording small acoustic projects set up a control room in a smaller space and utilize
a nearby large space on an as-needed basis.
Make the Space Quiet
Your Neumann mic will pick up every nasty sonic detail of your room. So, seal all seams, cracks, and crevices in the room with an acoustic sealant like Auralex StopGap. Treat all the room’s parallel surfaces with acoustic treatment, such as broadband absorbers, diffusors, and bass traps to minimize flutter echoes, room modes, and standing waves all of which make critical listening difficult.
Well-placed soft furniture and bookshelves are great for absorption and diffraction.
Wiring
Take stock of how many outlets you need (and where you need them), and install outlets as
required. As for audio cables, if your studio involves more than one room, you’ll want to install wall plates in each room to accommodate mic cables. Otherwise, you’ll need to leave a door open to run
the cables. Also, try to keep electrical and audio cables clear of each other to avoid electromagnetic interference.
Secure a Building Permit If Required
If building your studio involves any significant remodeling, construction, or electrical work, be sure to check with your city department for a permit.


