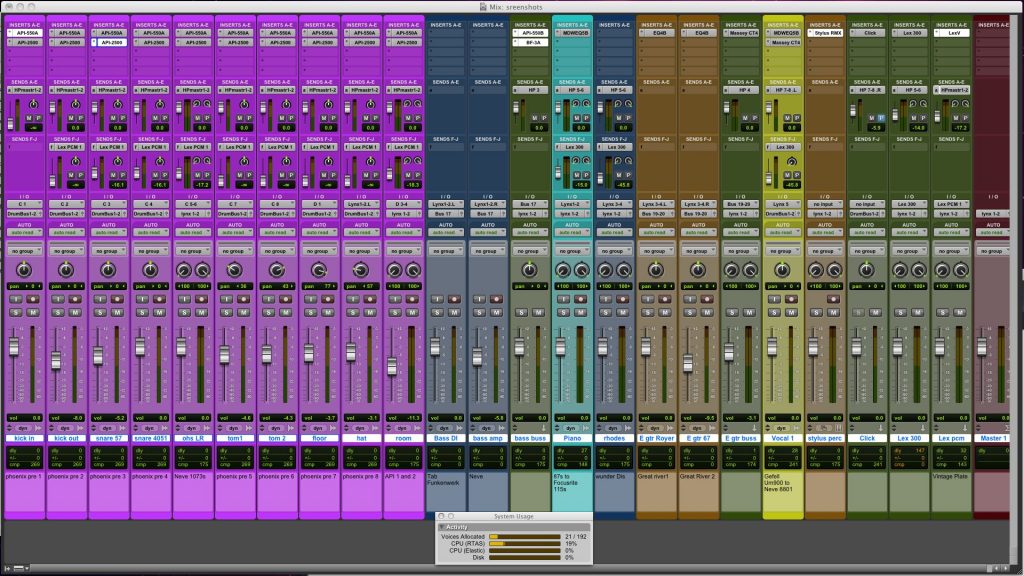
Basic Needs for Mixing
Mixing is an art. If you’re new to mixing, you need to concentrate your song before it gets to the mastering stage. While you might be tempted with all the plugins, you need to first ensure that your room is treated with the necessary acoustic panels. This is very crucial for judging your mix accurately in your room.
Mixing Position
You have to sit in an equilateral triangle position with respect to your two monitors which should be placed at head level. This will give you an optimal level of listening to the output from your speakers. A lot of beginners keep their speakers at a lower position and then complain about their speakers. This way the sound does not travel directly to the ears and the output isn’t accurate.
Speaker Position
Do not place the speaker too close to the walls as you might not be hearing the bass frequencies accurately and you will end up making wrong mix decisions. Always position the speakers 1-2 feet away from the walls. Also, place a pair of monitor isolator pads under the speakers to avoid the desk-rattling effect.
Equalisation
Try to use the High Pass Filter (HPF) and cut the low rumble frequencies on most of your tracks as this can brighten your mix. A high pass filter can do wonders for your mix. While EQing always listen to the entire drum kit, avoid making decisions while solo-ing out a particularl track.
Time for Vocal Mix
Use the High Pass Filter (HPF) around 100Hz to remove the room rumble from your vocals. Boost the high frequencies in your vocals just a couple of dBs in order to make them pop out in your mix. Now you can apply compression, depending on your context of your song. Generally, I’d set the ratio to 2:1 or 3:1 and with a gain reduction of -3db to -6db so that I don’t lose too much of the dynamics in my vocals. You can also do a parallel compression if you want your vocals to sound even tighter.
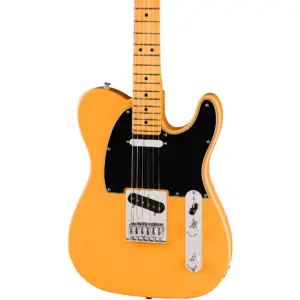
Electric Guitars
Apply a High Pass Filter (HPF) on the EQ around 120Hz to remove any unwanted bottom. This will create some space in your mix and sit well in your audio spectrum. So carve around 2db to 4db of the honky sound around 250Hz to 400Hz using the notch filter. This will really help your guutars to stand out in your mix.
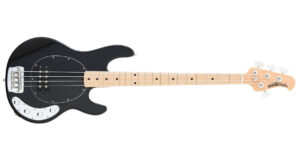
Bass Guitar Tweaking!
A lot of starters want to have more bass in their mix and tend to boost around 50Hz or 60Hz and it drives the speakers too much and may cause your speakers to distort. It also spoils the clarity of your kick drum. Here is a simple trick to overcome that. Just cut a small notch around 70Hz on the bass track and boost 75Hz on your kick drum track, and it works like magic.
Don’t overdo things in your mix
Take frequent breaks so your ears don’t tire out. Don’t take the opinions of ten different people while mixing. It’s better that you mix alone and make the final decisions. Of course, your client has the right to ask you to make few changes but it should not drive you to make the entire mix based off their opinion. Remember, you are the mix engineer and you know which frequencies cause the problems in the mix. So try to explain to your clients politely and make them understand your decisions.
Synths and Pads
A lot of music programmers do not notice the volume level of their synths and pads which tends to sound loud. Here is a quick tip, use the Trim plugin in your DAW or just reduce your gain structure in your clips to allow your tracks to breathe. Leaving -10db of headroom for mixing will give you great results
Final Mixing
Limit your use of plugins. Know your plugins really well and how they sound in your mix. Learn to use a selected few. Find the right tone that works for mix while using plugins. There are no shortcuts while mixing, it comes with practice. My go-to limiter is the waves L2 which has been always the best sounding plugin in my opinion. There are plenty of brands like the Sonnox Oxford limiter and iZoptop which sound really good. But beware of the levels so as to not distort your mix. Set the ceiling value of -0.3db and bring down the threshold slowly until you hit about -1db to -2db of attenuation in your limiter.

