Recording good vocals at home is a challenge. Here are some guidelines to achieve great results at a home recording studio.
The Room
The room should be treated with acoustic panels. Place the acoustic panels behind the DAW (Digital Audio Workstation)- two bass traps in the corners of the room, and on the side walls to cut unwanted reflections in the room.
Your Vocal Mic
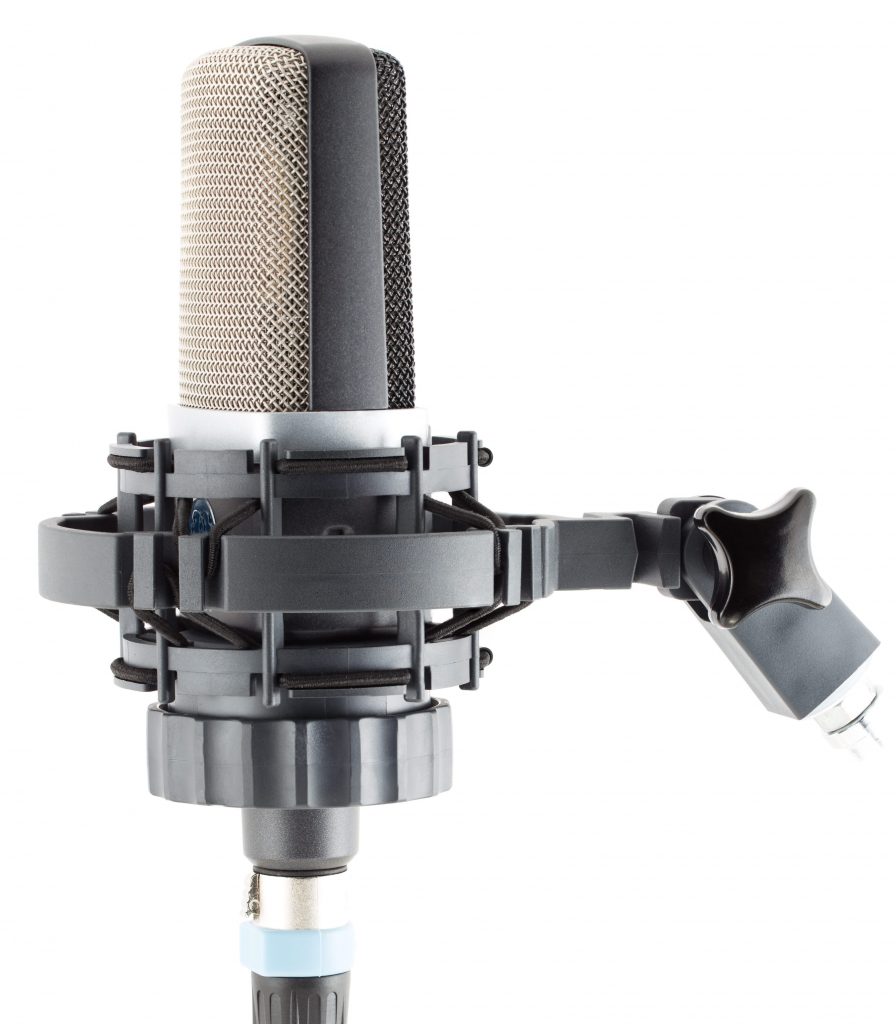
Choosing the right Vocal Mic is the second most important factor for recording great vocals. You can choose a dynamic or a condenser mic. Shure SM58 and SM7B are great options for a dynamic mic. RODE NT1-A and SE Electronics X1 series are best picks for Condenser mics. For a slightly costlier but long term investment, Neumann TLM 102 or AKG C414 are great picks! The quality of recording depends on your room and placement of mic. Place the mic in the centre of the room because reflection is less at the center of a room as compared to the corners or elsewhere. Use a POP filter to remove unwanted P’s and B’s in your recordings.
Your Audio Interface
I recommend audio interface like Focusrite Scarlett 2i2 series or Audient ID22. These interfaces are affordable and the quality of AD/DA converters are good.
Setting your Gain Level
Most beginners think that recording at higher levels is good in digital audio, It simply doesn’t work that way. Digital Audio interfaces are very sensitive therefore they could clip your audio if the levels are too high. It is better to record in between the of range -20db to -10db when the vocalist sings the loudest part. You still have 10db of elbow room to play with plugins during your mixing. The bit depth and the sample rate are also important factors. Nowadays, the default standard for Music recording is 24-bit / 44.1KHz and for Video it’s 24bit / 48KHz, as most of the audio interfaces support till 96KHz!
Using EQ for vocals
Use a High Pass filter and roll off at 70Hz -80Hz to remove unwanted room ambiance in your mix. Also, try to find any nasal tone in the vocals by sweeping using the ‘Q’ value. The bad spots can be identified between the range 400 Hz to 600 Hz. You can then subtract that hollow sound in your vocals. Try to dip down around -4db to 6-db if possible then check all tracks again. Now do a little bit of boost in the higher frequency around 4KHz to 6KHz for 2db or 4 dB boost to get that sizzle in your mix! This should sound great in your mix!
Using Compression for Vocals
Using compression in vocals is to maintain the dynamic range for the track. There are no rules that you should insert a compressor in your vocals, if it’s already sounding good. But if there are too many dips and highs in your volume range, you can insert a compressor with a standard setting of Ratio 2:1 or 3:1. If the output is very loud, then set the threshold at around -15db to -10db depending on your mix with reference to other tracks. But see to it that you have a gain reduction meter showing around -3db to -6db, because if it’s too much, you will lose the original details in your mix. Also, set the attack to be less than 1 ms and the release about 30 ms. Finally, adjust the Makeup gain according to your song.
Using Reverb and Delays for Vocals
Effects like reverb and delays play a great roll in your mix. Using reverb in your vocals will create an ambience space in your mix. Generally I use Reverb with default plate settings and modifying the Pre-Delay from 15ms to 40ms depending upon the song. Also, using a High Pass filter removes any muddiness in the reverb which makes your mix sound great! Delays can also be easily applied to the track to create a rhythmic feel based on the tempo.
These tips will definitely improve your vocal recordings sound great. Happy Recording and Mixing!
Author: L. Baba Prasad. He is the Owner and Chief Sound/Mix & Mastering Engineer at Digi Sound Studio. He also teaches Sound Engineering & Music Production courses. For more details visit: www.digisoundstudio.com / www.digisoundacademy.com


