- Make sure that you leave headroom on your input to accommodate for unexpected overshoots (extra loud snare hit, vocalist leans forward, etc.) – keep peaks below -6dBFS at least.
- Stereo or mono? Consider how you want recorded parts to be placed in the final mix and what the source requires. Don’t record things in stereo just because you can.
- Commit if it sounds good. Don’t worry about the technical details too much, just record it and move on. Fresh is best, even if there’s a little roughness around the edges.
- Don’t use gear just because you’ve got it or want to try it out. This is particularly important with EQ and compression/limiting. If you’re confident you want to commit them to tape or to disk then do so, but remember that you can’t change it later.
- 5. Keep it short.Shorter analogue signal paths ensure better fidelity, so use the shortest and best cables you have. Remove all devices that are not being used, even if they are bypassed, as every connection and ground connection is a potential noise source.
- Keep it simple.Don’t use mics that you don’t need. Have a simple setup with mics that sound good together. Don’t add stuff for that cool studio shot.
- Pre-production is key.Have as clear an idea of what you want as possible, even if that’s just a role or atmospheric ‘place’ for what is to be recorded.
- Get the source right. Ensure that the instrument sounds its best (in tune, warmed up, or awake/sober in the case of a vocalist) and sounds good in the room before moving any mics into place.
- Don’t spend ages auditioning mics, unless you have time before the performer(s) arrives, as you don’t want to wear them out with your technical whims.
- The distance between a mic and source is very important for your recording quality. Be aware of the proximity effect as it can quickly make for a muddy, woolly tone.
- DIY efforts are needed for the reduction of echoes, resonances and increase separation. Packing blankets, duvets and carpet work as great absorbers, while dense, rigid objects (e.g. timber panels or flight cases) make great reflective separators. Listen, apply and then listen again.
- Use the HPFor low cut on mics and preamps whenever the source lacks low frequencies. Extraneous noises like foot taps, distant road rumble, will eat the headroom and make your recording muddy.
- Use the mic’s polar patterns to your advantage, whether it’s to screen out other sounds in the room or reflections off walls and windows. Look at the polar pattern data for your mic(s) to see which angles are the most/least sensitive.
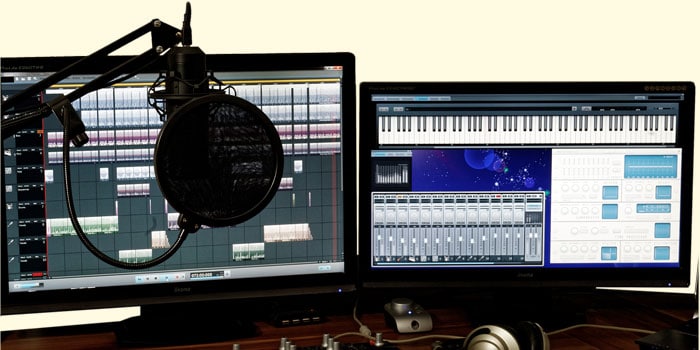
- Make sure you can always see the meters as you never know when something will need to be trimmed. They will also alert you to things you may have missed, such as a kick drum mic falling into the drum, a foot tapping on the mic stand or an electrical fault causing spurious noise.
- Multiple microphone setups usually suffer from phase incoherencies, work towards minimising them for obtaining the most coherent and ear-pleasing sound.
- Monitoring is key.Whether it’s headphones or speakers, the performer(s) must have the best and most flexible foldback you can achieve as the better they can hear the better they will perform.
- Backup everything.Make sure you save your project files regularly and backup at the end of every session. When you leave the recording venue take a backup with you, or if you’re taking it away make sure someone else has a copy.