When the topic of acoustic treatment comes into the picture there is always a strong debate which has people holding extreme opinions about its relevance, on either side of the spectrum. While the whole concept of acoustics is vast, in this article, we will be dealing with the basic understanding of acoustic treating, why it’s done and what its relevance is with respect to someone who’s looking to find out how much of a difference treating your home studio is going to make.
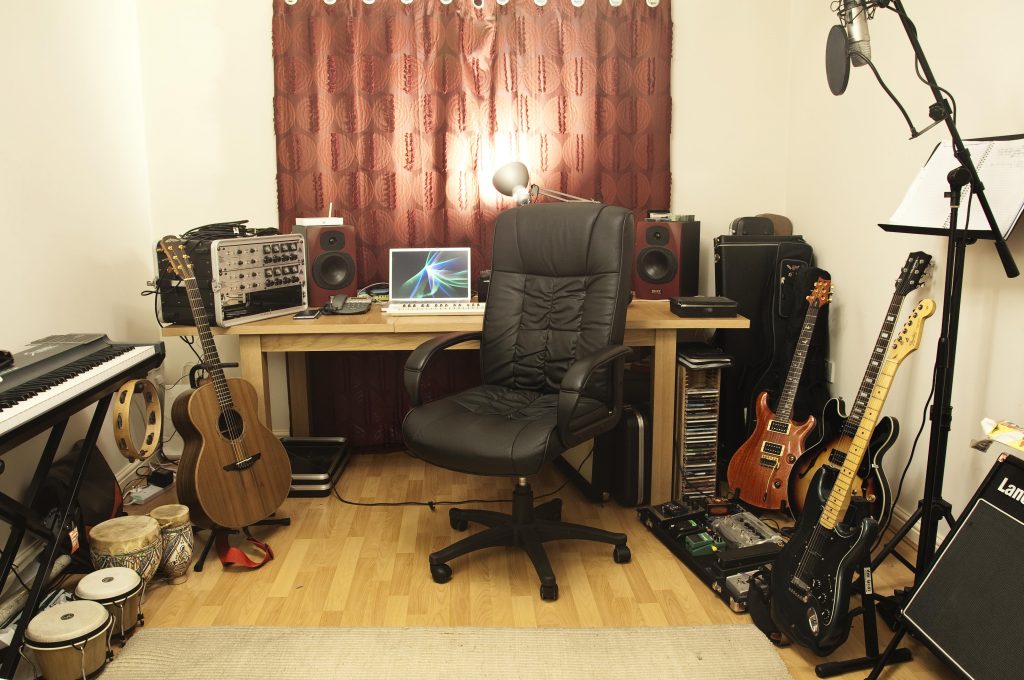
The first thing you’re going to have to look at is your home studio or the room that you’re mixing in, recognise how your room sounds and how you’ve placed your monitor speakers with respect to where you’re listening from and the shape of the room. Straight off the bat, we are going to clear off the confusion, acoustic treatment is not sound proofing. It does not prevent sound from getting in or out of your room. Acoustic treatment is simply done to reduce the reflection of sound and to cut off frequency build-ups. This is done to change or to tune the sound of your room to make it sound a lot more tighter.
If you walk into an room and clap, based on how reflective the room is, you might hear a high-pitched ring that follows. This is the sound of the room and this basically colour and affect that you hear from your speakers. The point of using acoustic treatment is to have a more dead sound in your room since it lets you hear exactly is being played from your speakers. Another common misconception is that the more absorbers and diffusers you have placed around your room, the dryer your room will sound. This is not true as it not the number of absorbers, but where you’ve placed them, that truly makes a difference.
The use of absorption panels will help you achieve an overall dryer sound to give you a more ideal environment for mixing or producing. The question is probably going to be, how many panels are we going to require? This depends entirely upon how much you can afford to spend. In terms of priority, you’d want to start with covering the portions of the walls that are directly to the left and right of the point that you mix from, at ear level. This should be the first step when you’re treating your studio because the sound from your studio monitors are going to bounce right off those walls to your sides and directly hit your ear. This will account for most of the reflections and colour that your room might to be adding to what you’re hearing. The next step would be to cover the areas of the walls that are directly to the back of your monitors and the areas that are directly facing them. Placing bass traps in the corners of the room will help you reduce the low frequency build-up that tend to happen usually in the corners. Surfaces that are generally reflective should be removed as they contribute to the reflections happening in your room.
One thing that will need to be understood is that acoustic treatment is not going to make your mix sound magically better. It’s merely a step towards helping you make decisions with improved precision and better speed without having to think twice about whether your mix sounds the way it does because of the effect that your room has on it. It should also be noted that treating your room will only be able to do so much. You will, ultimately, have to figure out the sound of your room and learn it.


