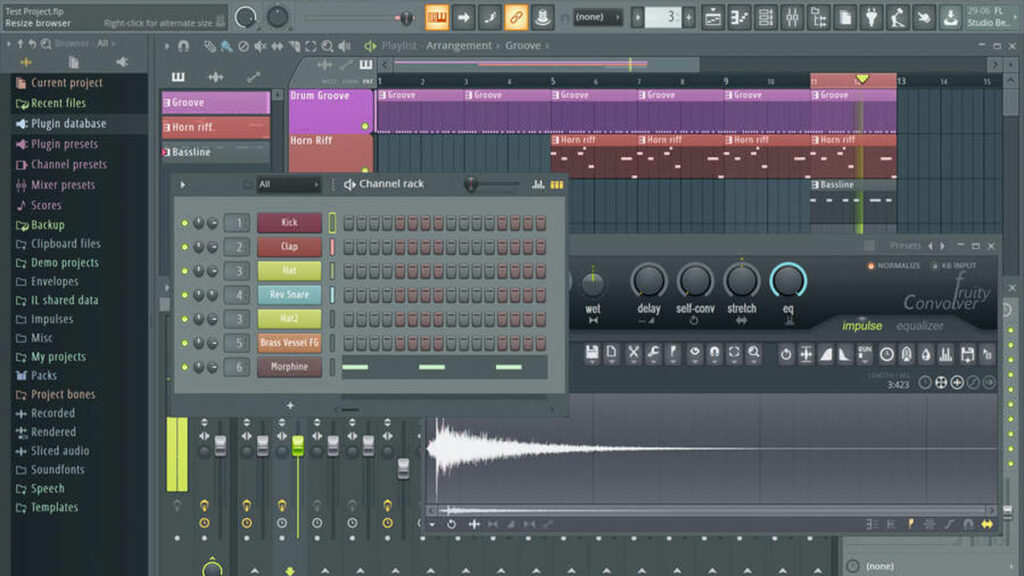
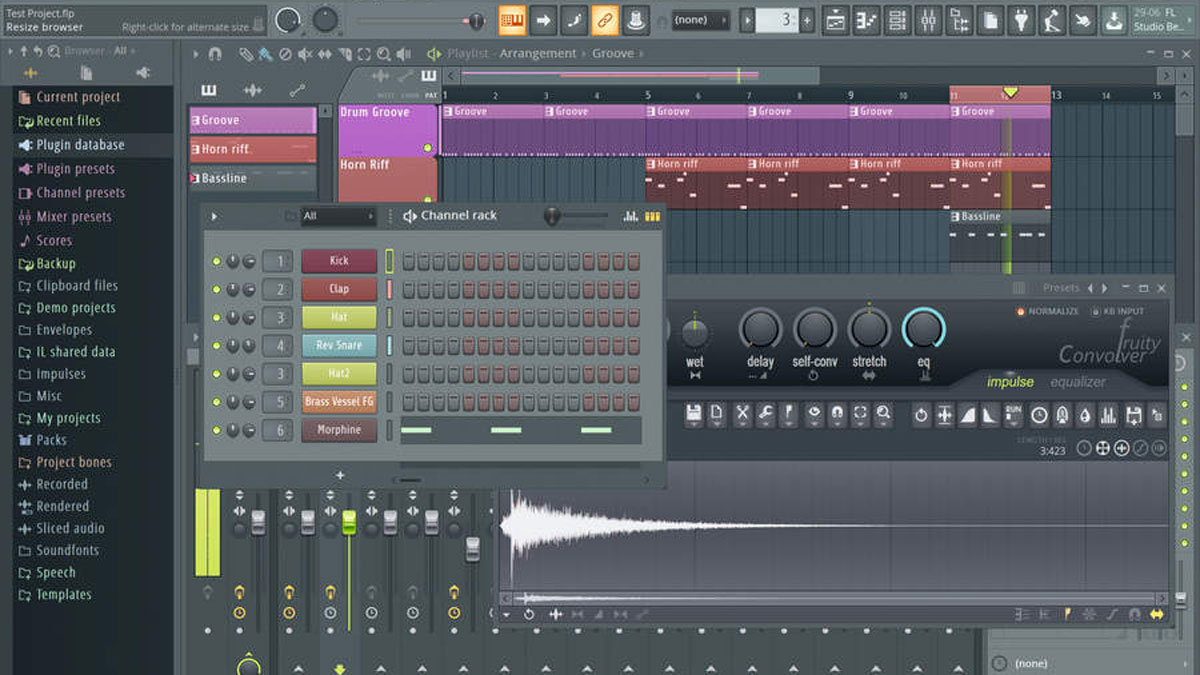
Popularly known as FruityLoops, the Swedish creation FL Studio is a digital workstation that has been the stepping stone for many producers in their amateur days. In fact, there are dedicated producers who continue making beats and playing around with tools on FL Studio. So, if you’re an aspiring producer and starting out with FL Studio, here are some tips that can come in handy.
1- Adjusting the Metronome
If you are balancing vocals with the beat, a metronome can be the perfect tool to perfectly time the former with the latter. As a listener, you can have different preferences for the particular sound of the metronome. On FL Studio, you can just choose a metronome with a right-click and then pick between the default tick sound, a hi-hat, a beep, and even a cowbell.
2- Shortcut Keys
Referred to as “Windows Hot Keys” by YouTuber/producer Eliminate, some keys serve as essential shortcuts if you’re using FL Studio on Windows. For example, to access the Mixer, one has to select “View” and then find the “Mixer” option. But if that’s too much of a task for you, you can just click F9 and get access to the Mixer. Similarly, F7 can get you “Piano Roll” or F5 can take you to “Playlist”.
3- Changing Tempo in a Sample
As is common knowledge, every sample’s tempo can be measured by its beats per minute (bpm). However, if you wish to change the bpm of a sample, click on the top-left corner to find “Sample” and then an option called “Fit To Tempo” underneath it. This will take you “Type In (BPM)” where you can type in your desired tempo.
4- Creating Lo-Fi Sounds
These days, low-fidelity (lo-fi) is a popular trend, especially for bedroom producers who wish to get a slightly distorted and raw sound for their songs. With artists like Shiloh Dynasty and the rise of SoundCloud rap, lo-fi has only become more popular. To get a retro lo-fi sound on FL Studio, one can download the Dither plugin from Smartelectronix. Dither is basically low-level noise added to the audio signal that makes the quiet parts of the audio slightly louder so that more of the signal can be heard when the bit depth is reduced.
5- Adjusting the Zoom Level of The Sequencer
With so many sounds, samples, and instrumentals on the screen, working on an FL Studio file can be straining for the eyes. To zoom-in and to set the adequate resolution of FL Studio’s sequencer, you can select the project’s General settings from the main Options menu and change the Timebase value. Higher values will enable you to zoom in closer on notes.