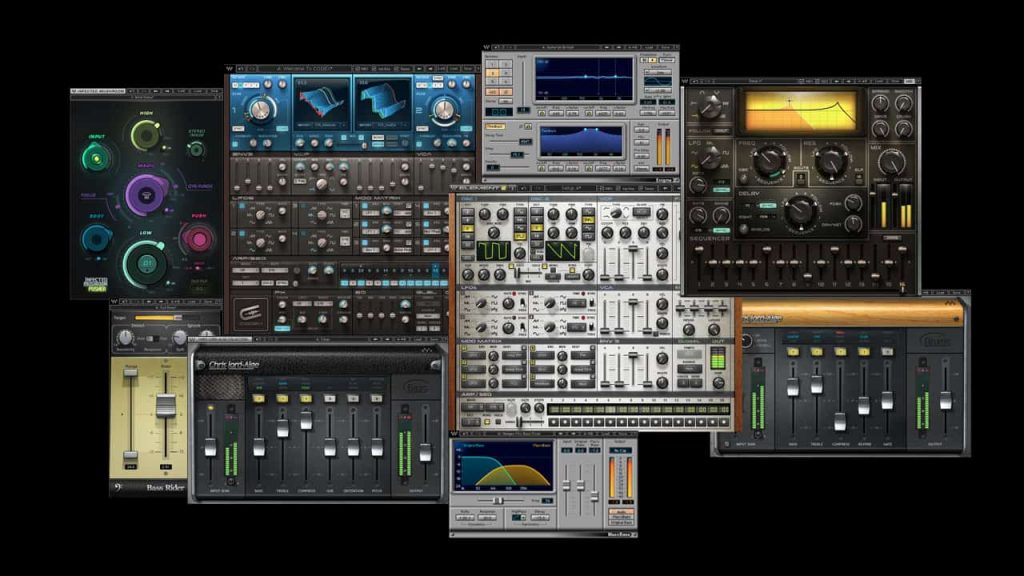
If you are a producer or a mix engineer who moves within the closely knit community of musicians, you would definitely come across the notion that you will need expensive third party plug-ins and VSTs to make a professional sounding mix. The truth is that we’ve all felt the pressure to jump on the “cracked plug-ins” bandwagon or to spend a good deal of money to “upgrade” to the latest plug-in which will automatically make your mix sound god-like. The real problem with that approach is that it shift your attention from truly understanding why your mix was bad in the first place.
This does not mean that your stock plug-ins are in any way better, but that without the lure of reaching for another plug-in to magically “fix” your subpar mix, you’d be forced to really focus on what the real issues are with the tracks in front of you and identify what is needed to take them to the next level. Contrary to popular opinion, stock plug-ins are extremely powerful and can sound great, if used efficiently. In fact, a set of stock plug-ins in the hands of an experienced engineer is more than sufficient to create a professional mix. It is tempting to think that your mixes could be significantly improved by spending a lot of money on new gear. However, this can be a very costly decision if you do not know how to use the tools at your disposal.
Assuming that you’re trying to get the best possible results by using only stock plug-ins, here is a list of tools that are absolutely essential for you to achieve a professional, studio-level mix.
Gain Staging: This is probably the most crucial step that decides how your overall mix ends up sounding. Ensure that every individual track in your DAW has enough headroom (try to maintain the levels around -18 to -12dBFS). If the channel looks hot, load up a gain plug-in (“Gain”, “Pre-Gain”, “Trim”, “Utility” based on your DAW) in your first slot and lower the gain until you can see the channel is peaking at roughly -12dBFS. That’s it.
EQ: After volume balancing, it is important to know how to bring out the right frequencies in the right instruments or tracks to make your mix sit in the way that it is supposed to. EQing is an art that is best learnt through experience. Try to get a feel of what exactly you need to highlight, which instruments have frequencies that clash in the mix and things like high-passing, making shelf or bell cuts/boosts and understanding how the “Q” of an EQ works.
Compression: This is one tool that a lot of people find hard to understand. It is basically used to reduce the dynamic range between the loudest and quietest parts of the signal by attenuating and boosting them respectively. For example, when you hear a song where the singer whispers in certain parts and almost screams in others, yet they are both equally audible, this is how it’s done. Mastering the use of a compressor will give a great of flexibility while mixing. Other plug-ins such as gates can be very useful in attaining a tight, punchy drum sound. Effects such as reverb, delay come in handy while trying to get that rich, spacious sound.
While looking to invest in upgrading your studio as opposed to spending more on plug-ins, it would be wise to upgrade your front-end, that is spend money on what’s actually going to affect your recording, whether it be having different microphones for different tonal options, picking up an affordable channel strip for some light EQ and compression on the way in or even acoustic treatment, can help in getting a better mix because they’d help in making your original raw tracks sound better in the first place.
This article was featured in the November 2017 issue: http://bit.ly/2nClZ5h


