To understand Equalization we need to understand frequencies.
The number of vibrations that are produced per second is called frequency. Frequency varies for each sound and is measured in hertz.
1 hertz = 1 vibration per second.
Humans have a listening frequency range between 20Hz to 20,000 hertz. As we age our hearing worsens.
The highest frequency that a normal middle aged adult can hear is only 12-14 kilohertz.
Before one can truly learn how to use EQ, we need to understand the frequency spectrum.
Let’s have a look at the frequency spectrum.
Frequency Range & Frequency Values
Sub-bass 20 to 60 Hz
Bass 60 to 250 Hz
Low midrange 250 to 500 Hz
Midrange 500 Hz to 2 kHz
Upper midrange 2 to 4 kHz
High’s (Presence) 4 to 6 kHz
Air (Brilliance) 6 to 20 kHz
What is equalization and why do we need it ?
EQ is an abbreviation for the word EQUALIZATION. An Equalizer allows us to just turn up or down individual frequencies of individual elements or a particular sound. This prevents us from raising/dropping the levels of
an instrument/track unnecessarily in a mix.
Every instrument has a fundamental note.That fundamental note determines the frequency spectrum of that instrument. Besides that fundamental note, it also comprises of overtones.
An overtone is a musical tone which is part of the harmonic series above a fundamental note and heard with it.
By cutting/adjusting frequencies of a particular instrument we can adjust the tone and change the timbre of that particular instrument. When all the instruments/elements come together in a song, they will be fighting
together to sit properly in a mix. Some frequencies will get added and some lost.
This is when we look at approaches and types of Equalization.
Approaches for Equalization.
There are a couple of approaches one can use when you want to EQ a track. One is for subtracting unwanted frequencies and one is for enhancing them.
Subtractive EQ – This is to smoothen out problems which occur in the recording process. If certain frequencies that are peaking out and need to be ironed out, you will cut/subtract frequencies.
Additive EQ – This is when you want to add or lift up certain frequencies in order to brighten them, make them beefy or generally help frequencies stand out in a mix.
Important types of EQ
1.Shelving EQ
This type of EQ is used when you want to cut or a boost the high end or the low end of frequencies without completely cutting it off. Shelving Eq’s basically affect all the frequencies generally above or below a certain
point.
2. High Pass and Low Pass EQ
Like their name suggests, the High Pass Eq will pass all high frequencies and cut the low frequencies and Low Pass Eq will pass low frequencies and cut the high frequencies. They do what the Shelving Eq’s do, the difference is that they only cut frequencies and not boost them. This type of EQ is generally found on all live consoles for quick implementation.
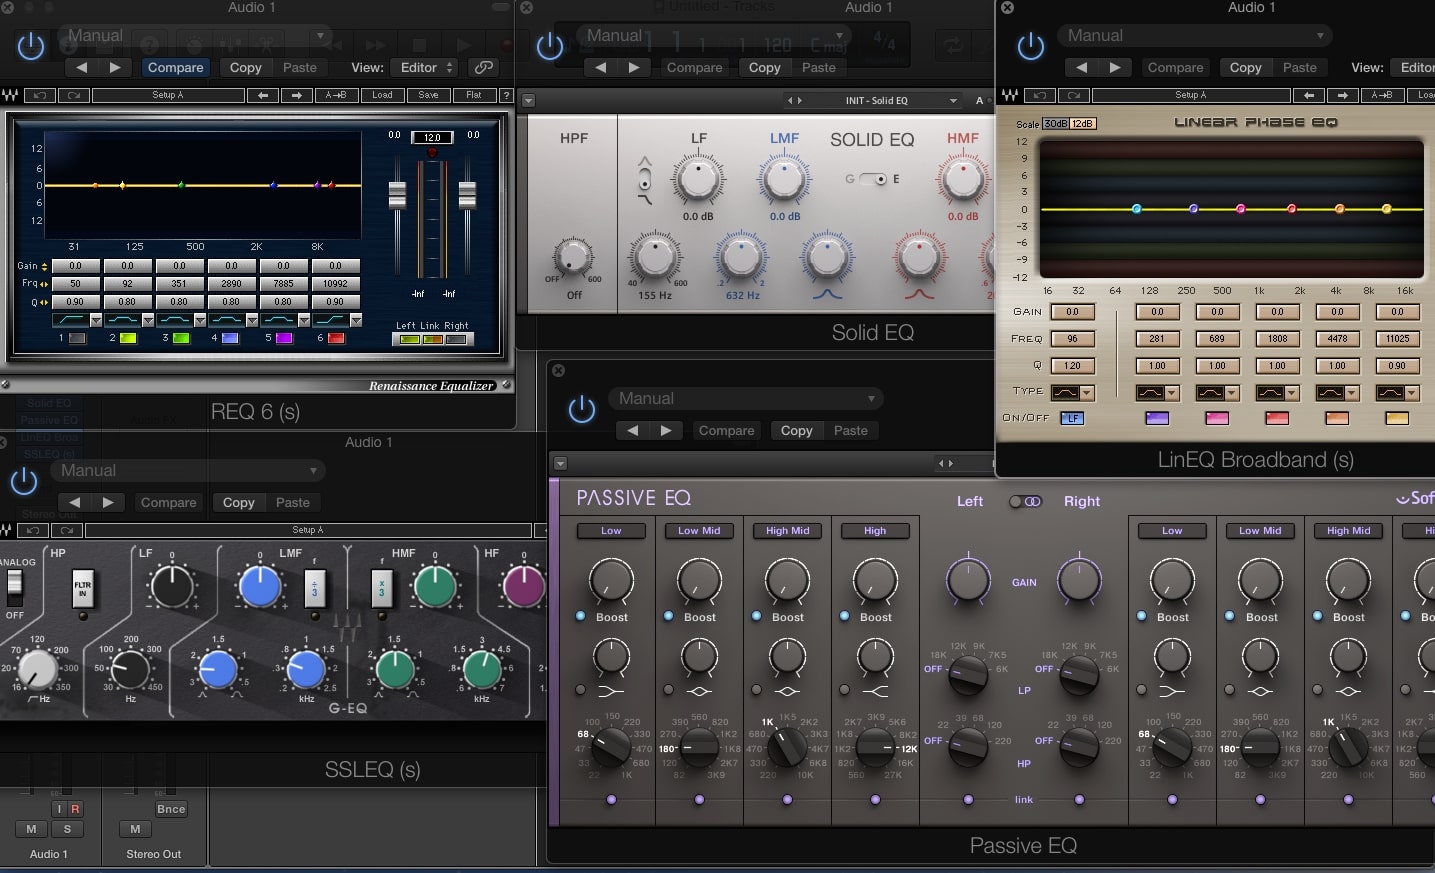
3.Parametric EQ
In a parametric EQ, you will have the ability to very specifically alter a number of different parameters.
This form of EQ is normally the one we would end up using the most. In this EQ, you can identify the frequency you want to treat, isolate it and either boost it or reduce it.
A third value can be controlled which is the bandwidth or referred to as ‘Q’ value. This controls the range of frequencies which we can boost or cut. A wider ‘Q’ will affect a larger range of frequency and a narrower smaller ‘Q’ value will affect a smaller range of frequencies.
4.Graphic EQ
They comprise of a lot of faders which represent the frequency spectrum from 20hz all the way upto 20khz.
There are different sliders assigned to particular frequencies. You can use them to either boost or cut frequencies.
The Graphic EQ is generally connected to the mixer outputs to control the tone of sound, or correct feedback problems.
10 Tips while applying ‘EQ’
1. Subtract rather than add.
2. Use your ears rather than your eyes.
3. Sweep through frequencies and identify the ones which need to be cut or boosted. While doing so use a narrow ‘Q’ for accuracy.
4. Bass roll off things which are not going to contribute to that frequency spectrum.
5. If you have to treat it a lot, there is something wrong with the recording. Try record it again if you can.
6. Do not boost the high frequencies unnecessarily and make your mix sound harsh.
7. The individual elements in a song matter, but keep the entire song in perspective while applying EQ.
8. Keep comparing your EQ application with your raw sound or even another EQ for that matter. Do an A/B compare.
9. The instruments should not sound alien. Keep it as natural as possible.
10. Listen in Mono too when you are on the stage of finalising and touch up the
EQ a bit if needed.